How To Grow and Take Care of The String of Hearts Plant
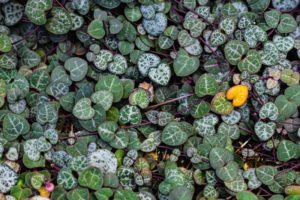
The string of hearts is a trailing indoor plant with the biological name Ceropegia woodii. It has heart-shaped gray leaves featuring attractive mottling along with

The string of hearts is a trailing indoor plant with the biological name Ceropegia woodii. It has heart-shaped gray leaves featuring attractive mottling along with
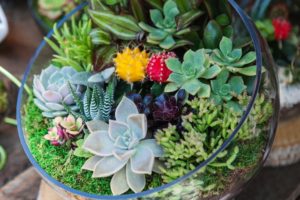
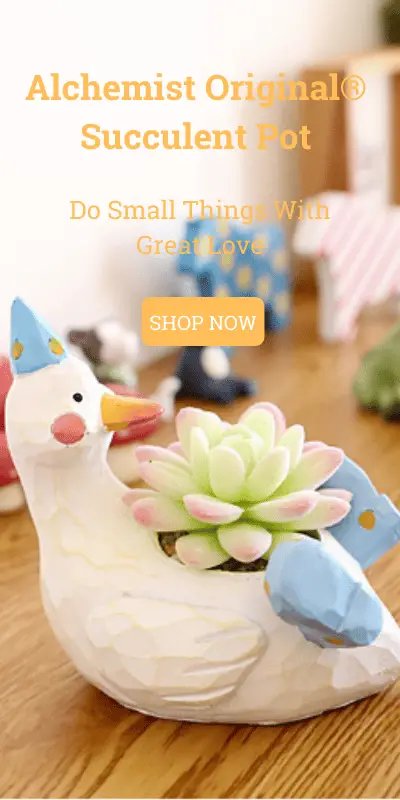
I don’t have a green thumb, as frequent readers know. My garden is proof that I have never proven fruitful in growing anything. Succulents are
Worm castings – you’ve probably heard of this miracle material before, but you don’t quite know what it is. You can use worm castings for
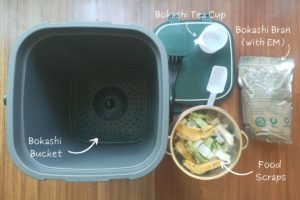
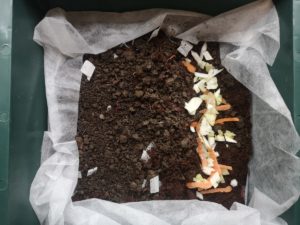
When I was a junior gardener, composting was not an easy concept for me. After researching and doing composting on my own, nowadays bokashi composting

Whether you’re looking to lead a life that helps sustain the environment or looking to produce as close to zero waste as possible, composting is